How To Create A React App In Windows
React is one of the most popular JavaScript libraries in the web development field today.
As a Frontend Developer, I have personally worked with React in my projects and probably will continue to work with it in the future. One of the steps that many people struggle with is the installation/configuration process of React.
So let's start with the basics. In this post, you are going to learn how to install and run a React application the easy way.
Since interest in learning React is also increasing rapidly day by day, I have also decided to create video tutorials about React on my YouTube channel. Here's a video version of this tutorial:
How to Download & Install Node.js
First of all, you are going to need NPM (or Yarn, alternatively). Let's use NPM for this example.
If you don't have it installed on your system, then you need to head to the official Node.js website to download and install Node, which also includes NPM (Node Package Manager).

Select the "Recommended For Most Users" button and download the current version for your operating system.
After you download and install Node, start your terminal/command prompt and run node -v and npm -v to see which versions you have.

Your version of NPM should be at least 5.2.0 or newer because create-react-app requires that we have NPX installed. If you have an older version of NPM, run this command to update it:
npm install -g npm What is create-react-app?
Since it is complicated and takes a lot of time, we don't want to configure React manually. create-react-app is a much easier way which does all the configuration and necessary package installations for us automatically and starts a new React app locally, ready for development.
Another advantage of using create-react-app is that you don't have to deal with Babel or Webpack configurations. All of the necessary configurations will be made by create-react-app for you.
According to the React documentation, create-react-app is one of the officially supported ways to create single-page applications in React. You can find other ways here.
How to Install Create-React-App
In order to install your app, first go to your workspace (desktop or a folder) and run the following command:
npx create-react-app my-app The installation process may take a few minutes. After it is done, you should see a folder that appears in your workspace with the name you gave to your app.
Note: If you're on Mac and receiving permission errors, don't forget to be a super user first with the sudo command.
How to Run the App You Created with Create-React-App
After the installation is completed, change to the directory where your app was installed:
cd my-app and finally run npm start to see your app live on localhost:
npm start 
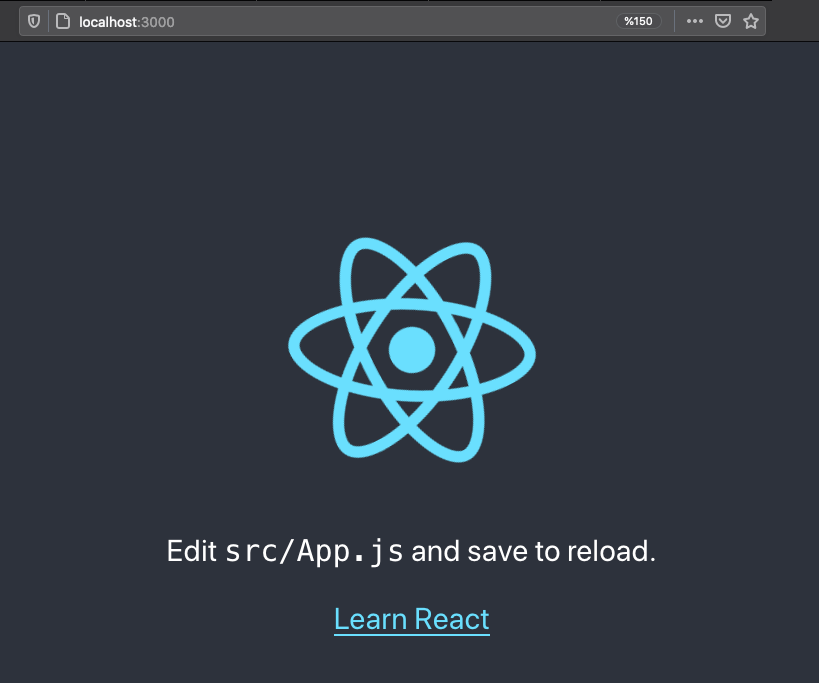
If you see something like this in your browser, you are ready to work with React. Congratulations! :)
Thank you for reading!
Learn to code for free. freeCodeCamp's open source curriculum has helped more than 40,000 people get jobs as developers. Get started
How To Create A React App In Windows
Source: https://www.freecodecamp.org/news/install-react-with-create-react-app/
Posted by: kellyanowbod1944.blogspot.com

0 Response to "How To Create A React App In Windows"
Post a Comment